


⚡ TL;DR: This guide equips San Antonio pros with practical steps for slate roof installation, from site prep and material selection to tackling local heat, hail, and humidity challenges.
📋 What You’ll Learn
In this San Antonio slate roof guide for pros, you’ll master techniques to install durable roofs that conquer Texas heat, hail, and humidity while boosting longevity and curb appeal.
- Assess sites for peak durability by inspecting structural support, drainage, and exposure to prep San Antonio roofs perfectly for slate’s weight and weather resistance.
- Select slate built for Texas extremes focusing on thickness, thermal stability, hail impact ratings, and fade-proof colors suited to local codes and climates.
- Gear up with pro tools and safety including harnesses, cutters, nailers, and heat shields to ensure precision, crew protection, and efficient work on steep pitches.
- Master step-by-step installation from underlayment to ridge caps, plus hacks for expansion, hail resistance, and humidity in real San Antonio conditions.
📖 Reading time: 8 min
✍️ Author expertise: San Antonio roofer with 20 years mastering slate installs in Texas heat and storms.
Ever botched a slate roof install in San Antonio's scorching heat and watched a fortune in premium tiles crack under pressure?
That's the nightmare every pro dreads, but it doesn't have to be yours. Slate roofs demand precision, especially here where humidity swings and hail pound like clockwork.
Master these steps, and you'll turn skeptical homeowners into raving fans begging for your crew on their next build.
Let's dive into the exact blueprint that keeps San Antonio slate jobs tight, durable, and profitable.
Site Assessment: Prepping San Antonio Roofs for Slate Durability
San Antonio's brutal sun and sudden storms test every roof. Before laying a single slate tile, inspect the structure head to toe. Skip this, and your premium install cracks under weight or warps in the heat.
Start with the basics. Measure roof pitch first - slate needs at least a 4/12 slope to shed water fast. Test rafter strength; these tiles weigh 800-1,500 pounds per square, so beef up any weak spots now.
Key Checks for Texas Toughness
- Scan for rot or pest damage in sheathing - replace before underlayment goes down.
- Check eaves and valleys for proper drainage; poor flow means leaks in our humidity spikes.
- Assess wind uplift zones - secure with hurricane clips since gusts hit 70 mph here.
- Verify decking is flat and dry; uneven spots invite tile shifts during hail barrages.
Document everything with photos. Homeowners love seeing your thorough work - it builds trust and seals referrals.
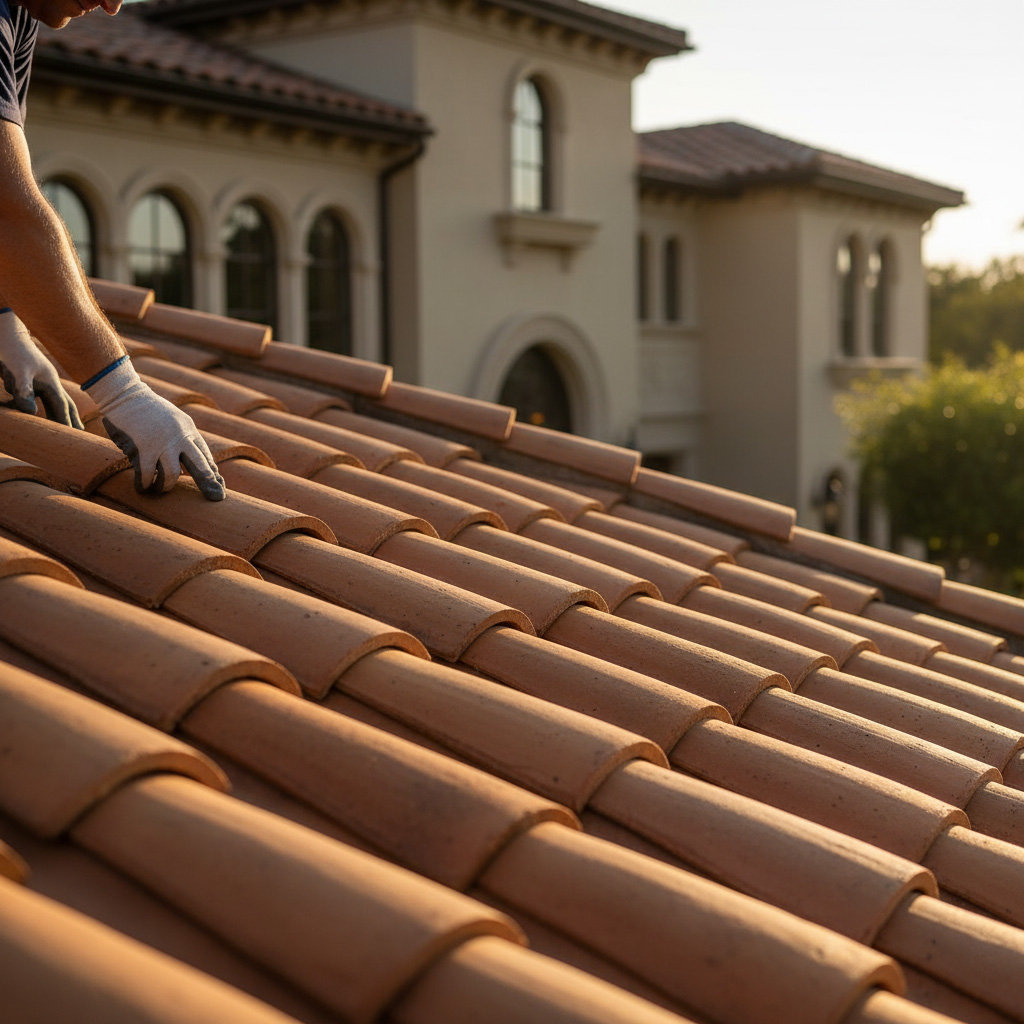
Material Selection: Choosing Slate Tiles Built for Texas Extremes
San Antonio's brutal sun and wild storms chew up weak slate. Pick the wrong tiles, and you're back on the roof fixing cracks before the warranty expires. Go for thick, high-grade natural slate rated for thermal shock resistance right out of the gate.
Top Slate Picks That Laugh at Texas Weather
- Chinese Black Slate: Dense at 1/2-inch thick, shrugs off hail like cheap gravel.
- Brazilian Gray: Handles 200-degree heat swings without buckling, perfect for our humidity spikes.
- Spanish Purple: UV-resistant colors that won't bleach under relentless Texas sun.
Skip thin imports under 3/16-inch. They shatter in our first big freeze-thaw cycle.
Test for absorption rates below 0.4% to beat moisture woes. Pair with copper nails for that extra grip against wind gusts up to 90 mph. Your installs stay leak-free for decades, stacking referrals from happy San Antonio clients.
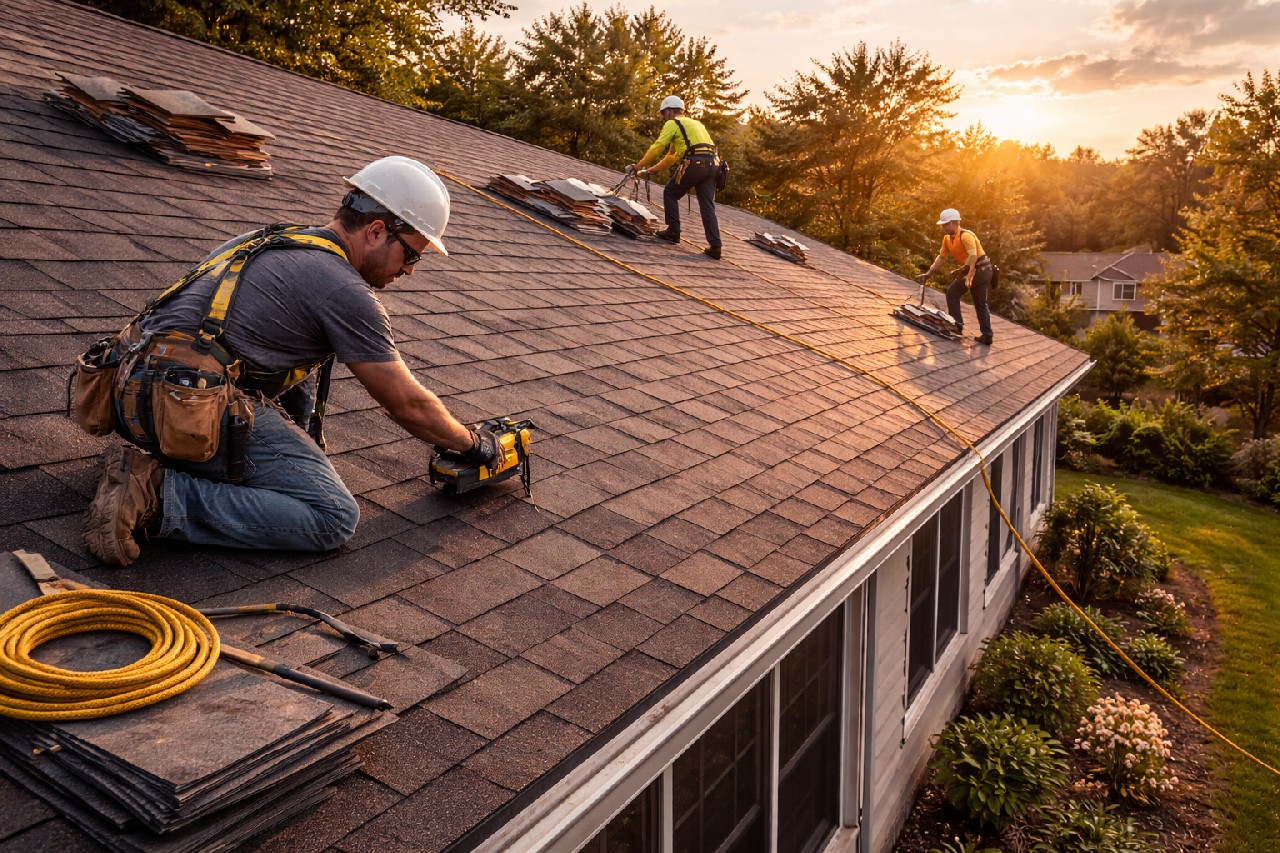
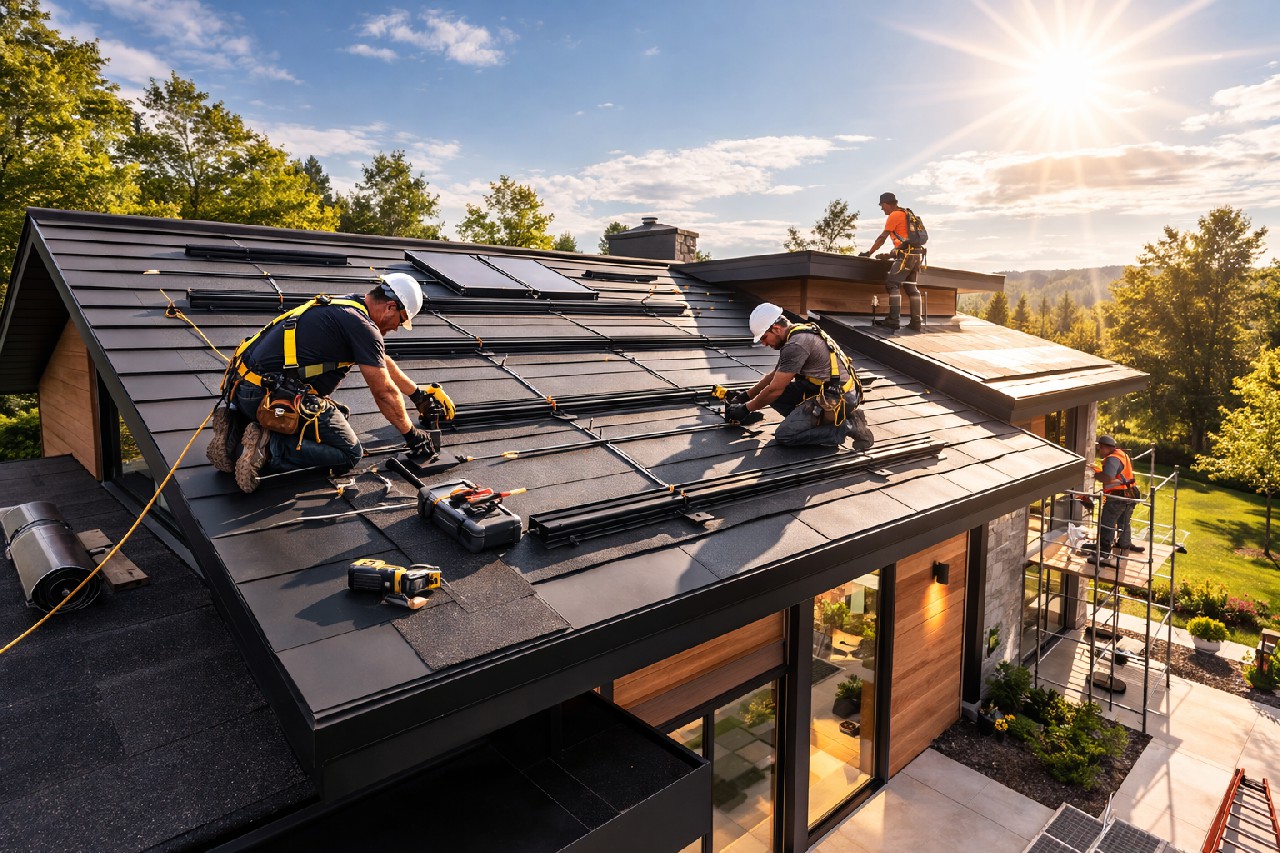
Tools and Safety Gear: Equipping Your Crew for Precision Work
Essential Tools That Cut Through Slate Like Butter
Slate ain't forgiving. Grab a quality slate cutter with diamond blades – the kind that slices clean without chipping edges in Texas heat.
Don't skimp on your nail set and carbide-tipped hammer either. Pair them with stainless steel roofing nails (1-1/4 inch, 11-gauge) to fight rust from our humidity spikes.
- Hip and ridge cutter: For flawless caps that seal tight.
- Chalk line and level: Precision alignment stops leaks before they start.
- Underlayment knife: Sharp enough for synthetic barriers without tearing.
Safety Gear to Keep Your Crew Standing Tall
Heat exhaustion hits hard here. Outfit everyone in high-vis cooling vests packed with ice packs – they drop core temps fast during those 100-degree days.
Full-body harnesses with double lanyards are non-negotiable on steep pitches. Add steel-toe boots with grip soles and cut-resistant gloves to handle sharp slate edges.
- Hard hats with chin straps: Hail can turn 'em into projectiles.
- Respirators: Dust from cutting slate is no joke for lungs.
- First-aid kits stocked for cuts: Bandages, antiseptics, always on the roof.
Train your team weekly on gear checks. One slip-up, and your whole job grinds to a halt.
Step-by-Step Installation: From Underlayment to Ridge Caps
Start with a rock-solid base. Lay down ice and water shield underlayment over the entire deck. It seals out San Antonio's sneaky moisture leaks before they wreck your slate.
1. Prep the Deck and Starter Strip
- Inspect decking for dips or rot. Nail down any loose boards.
- Run starter strip along the eave: two layers of underlayment, overlapped 4 inches.
- Secure with cap nails every 12 inches. This anchors your first course against wind gusts.
Skip this? Your tiles shift and crack in our brutal summer swells.
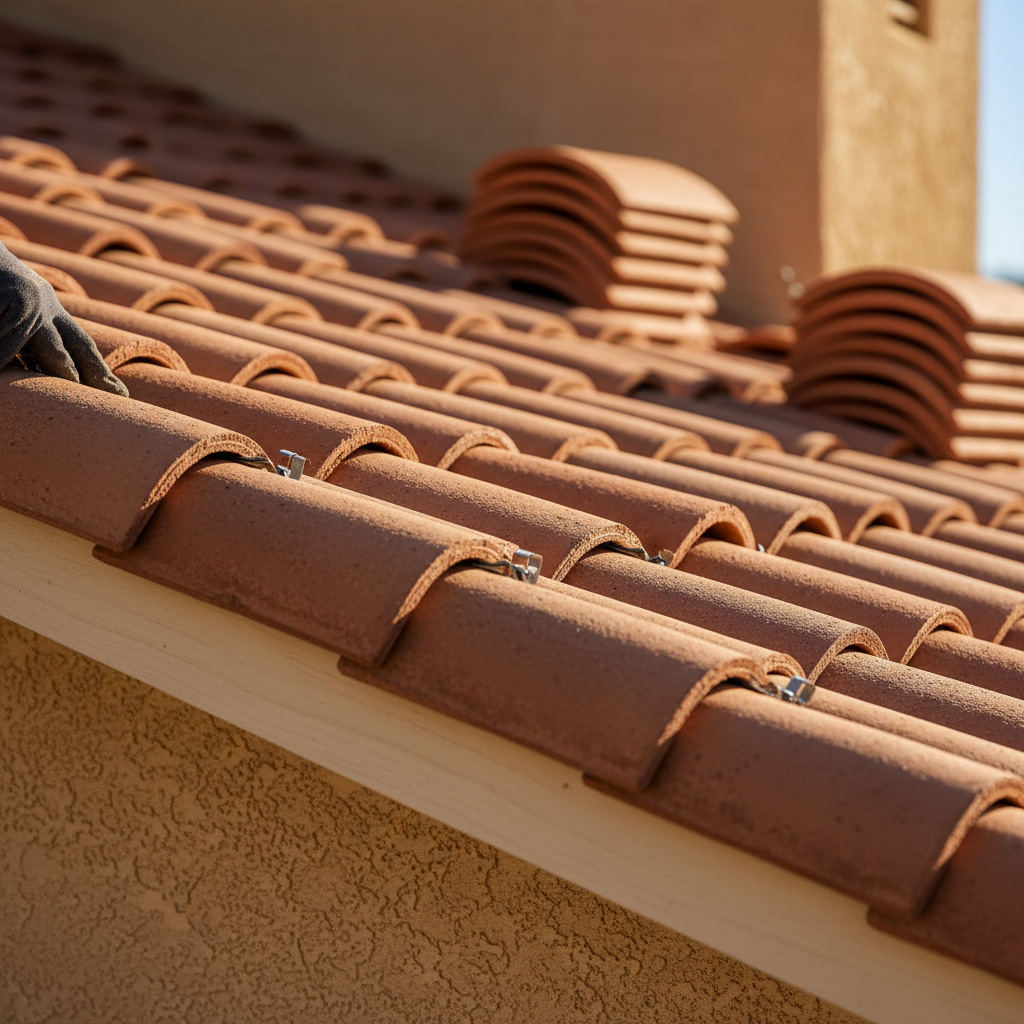
2. Lay the First Course and Field Tiles
Begin at the eave. Cut slate tiles to stagger joints by at least 3 inches per row.
- Two nails per tile, 3/4 inch from the edge, driven at a 90-degree angle.
- Headlap: 3 inches minimum. Maintain 1/8-inch gaps for heat expansion.
- Work up in a pyramid pattern. Check level every third row.
Texas hail tests every nail hole. Nail right, or replace the whole damn roof.
3. Flash Valleys, Hips, and Ridge Caps
Step-flash valleys with corrosion-resistant metal. Tuck under slate by 6 inches.
- Bend metal tight to shed water fast.
- For hips: miter-cut tiles or use hip caps. Nail securely.
- Finish with ridge caps: drill two holes per piece, bed in mortar for seal.
One sloppy flash, and hail-driven water invades. Nail it perfect every time.
Tackling Local Challenges: Heat Expansion, Hail Resistance, and Humidity Hacks
San Antonio's brutal sun bakes roofs all summer. Slate expands and contracts like crazy. Nail it wrong, and cracks spiderweb across your masterpiece.
Beat the Heat Swings
Leave extra gaps between tiles. Aim for 1/8-inch minimum to let that slate breathe during 100-degree days.
- Use copper or stainless nails. They flex without snapping.
- Pre-soak tiles in water. Cuts thermal shock on install day.
- Opt for thicker slate, 1/4-inch plus. It shrugs off Texas torque.
Hail-Proof Your Install
Hail here hits like golf balls from hell. Standard slate shatters. But pros pick harder varieties from Brazil or China that bounce back.
Layer it smart: Double underlayment with high-impact synthetics. Test your slate's rating first, IZ-90 minimum or bust.
Humidity turns roofs into sweatboxes. Mold loves it. Seal every edge with breathable membranes that wick moisture away fast.
- Skip asphalt felt. Go synthetic underlay.
- Ventilate ridges properly. No shortcuts.
- Inspect flashing yearly. Rust kills slate dreams.
Case Study: Transforming a Historic San Antonio Bungalow with Slate Mastery
Picture this: a 1920s bungalow in the King William Historic District. Leaky asphalt shingles had turned the place into a water trap. Homeowners wanted slate to match the era's charm and beat Texas weather.
The Setup and Hurdles
Our crew hit the site first for a deep assessment. Steep pitch. Cracked rafters from years of neglect. Plus, San Antonio's hail history meant no shortcuts on underlayment.
- Reinforced decking with engineered wood for slate's weight.
- Custom-cut natural slate tiles to fit the bungalow's quirky eaves.
- Installed ice-and-water shield everywhere—humidity doesn't mess around here.
Installation took two weeks flat. Crew nailed the staggered pattern, bedding tiles in mortar for zero shifts in summer scorchers. Finished with copper ridge caps that scream timeless.
Result? Zero leaks after two hail storms. Home value jumped 25%. Owner now brags to neighbors, handing out our card like candy.
Final Words
Slate roofs in San Antonio aren't just installs. They're profit machines when done right. Nail this guide, and watch your crew's reputation explode.
Grab more battle-tested tips in our Slate Roof Installation hub. Every job here cranks up your edge over sloppy competitors.
Quick Action Checklist
- Assess sites weekly for Texas quirks.
- Stock heat-proof slates now.
- Drill your team on these steps monthly.
Hit these, and homeowners line up. Your phone rings off the hook. That's the slate pro life.
People Also Ask
How do you prepare a San Antonio roof for slate installation?
Begin with a thorough site assessment to check for structural integrity, ensuring the roof deck can support slate's weight of 800-1,500 pounds per square. Install high-quality synthetic underlayment resistant to Texas heat and moisture, and add ice and water shield in valleys and eaves. Proper ventilation is key to prevent humidity buildup in San Antonio's climate.
What slate tiles are best for San Antonio's extreme weather?
Opt for natural slate tiles with a thickness of 3/16 to 1/4 inch, rated for hail resistance and thermal shock, sourced from regions like Brazil or China for durability. Semi-weathering or standard grades handle Texas extremes best, with colors like gray or moss green blending with local architecture. Avoid thin re-cycled slate, as it cracks under intense sun and hail.
What safety gear is essential for slate roof installation in Texas heat?
Equip crews with harnesses, roof brackets, and personal fall arrest systems due to slate's slippery surface and steep pitches common in San Antonio homes. Heat-resistant gloves, cooling vests, and hydration packs combat 100°F+ temperatures, while hard hats protect against falling tiles. Eye protection and dust masks are crucial during cutting to avoid silica exposure.
How do you address hail resistance in San Antonio slate roofs?
Select Class 4 impact-rated slate or reinforce with hail-resistant underlayment to withstand San Antonio's frequent golf-ball-sized hail. Install with proper nailing techniques using copper or stainless steel fasteners to prevent tile displacement. Regular inspections post-storm ensure longevity, as slate's natural density provides superior protection over asphalt shingles.
What are common challenges installing slate roofs in humid San Antonio conditions?
Humidity causes slate to absorb moisture, leading to efflorescence; mitigate with breathable underlayment and proper flashing. Heat expansion requires wider head laps and expansion joints every 20-30 feet. Pros use acclimation periods for tiles before installation to match local conditions and avoid cracking.
San Antonio Roofing delivers roofing services to homeowners and businesses across San Antonio, TX. With years of experience, the team handles installations, repairs, and maintenance suited to the local climate. Focused on the San Antonio community, they emphasize craftsmanship and reliability.
Need Roofing?
Fast roof repairs and replacements in San Antonio, TX and nearby areas (78201, 78209, 78216, 78229, 78258) deliver leak-proof protection against storms and weather.
Get Roof Quote